
Image Insertion Demo
Published on
Posted by
HS
NameHogwarts School
Short bioMagic school for young wizards
RW
NameRon Weasley
Short bioWizard & Auror
Y
NameYou-Know-Who
Short bioThe Dark Lord
Previous Article
MDX Style DemoTable of Contents
Insert Images
和 Markdown 的图片插入方法一样,您可以使用以下语法在文章中插入图片:
其中,图片的路径可以是 URL 以下三种情况之一:
- URL:路径以
http://或https://开头,例如https://picsum.photos/300。此时图片将从网络加载。 - 本地路径—asset 目录:图片应当放置在 MDX 博文同一目录下的一个同名文件夹内。例如,
images/hello.jpg指的是/data/posts/[this_post]/images/hello.jpg。 - 本地路径—
public目录(不推荐):路径以/开头,图片位于站点的public目录下。例如,/images/hello.jpg指的是/public/images/hello.jpg。
上述代码最终会被编译为:
下面是两个例子:
Image A from Internet
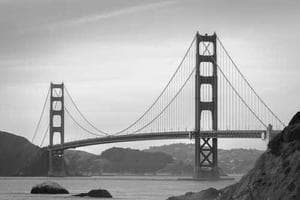
Image B from Asset Folder

Image C from Public Folder
Image Caption
title 会作为图片的标题显示在图片下方。如果不设置(就像上面的几个例子),则会显示 alt 作为标题。
如果您不需要图片标题(例如一些装饰性图片),可以将 title 和 alt 两者都不设置。
下面是一个例子:
Caption of Image B
Advanced Usage
Markdown 或 MDX 的标准语法仅能支持基本的图片插入和标题显示。不过,我们可以在 MDX 中直接插入 JSX 代码,从而实现缩放、圆角、阴影等复杂的图片显示效果。
这已经超出了本文的范围,如果您对此感兴趣,可以进一步阅读 NextJS、Chakra UI 等的文档了解。
Image Insertion Demo
https://analog-demo.zhutmost.com/post/test/image-test